What is a product tour?
A product tour is an interactive onboarding walkthrough or experience designed to guide your users through your product’s interface, features, and value propositions. As a personalized tour guide for your product, product tours highlight essential elements and nudge users toward key actions to accelerate their path to value.
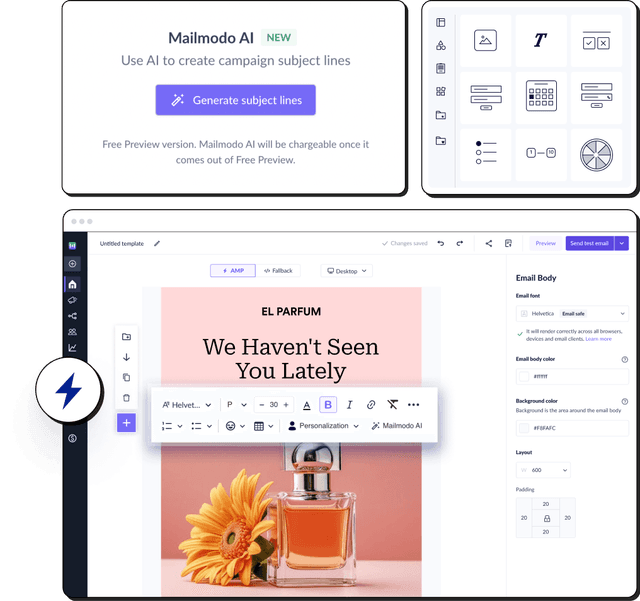
Here’s what a basic product tour of Mailmodo would look like.
The goal of a product tour goes beyond helping a user understand how to use the product. It aims to highlight how to use the features, why they matter, and how they can be used to the user’s advantage to connect the dots between the product and their goals.
Why do product tours matter?
Most users won’t read the manual you share with them. They won’t dig through your product’s menus to find features - and if they don’t see value quickly or if the product feels too difficult to use, they might leave for good.
When done right, product tours lead users to that all-important "aha" moment. That’s where true engagement begins.
A thoughtfully designed product tour helps you in the following ways:
- It shortens time-to-value, making users more likely to stick around, thus increasing retention.
- It reduces drop-off during onboarding, especially in complex tools.
- It boosts activation rates in product-led growth models, where users explore the tool on their own.
- It drives feature discovery over time, helping users unlock more of the product’s potential.
Product tours aren’t limited to just the sign-up flow. They can be used at various stages of the user journey depending on their intent, behavior, and familiarity with your product.
Common types of product tours
Depending on where and how you use them, product tours can take different forms. Here’s a list of common types of product tours, along with their definitions:
First-time walkthroughs
First-time walkthroughs tours are structured and step-by-step flows that guide users through specific tasks or flows in sequence. This is used for first-time onboarding to ensure users complete important setup actions.
Feature adoption tours
These user tours allows users to interact with new released features or underused features. This also comes in handy when you have made significant changes to your UI and want users to interact with features.
Milestone-based tours
Milestone-based tours are triggered when a user completes a key task or reaches a milestone, nudging them toward the next action. This is best for celebrating wins and driving deeper adoption.
Contextual tours or tool tips
Contextual tooltips are brief informational prompts or hints that are triggered when a user hovers over or interacts with UI elements, providing just-in-time assistance. This is used for feature discovery without disrupting the workflow or enabling forced user interaction.
Demo or preview tours
Interactive tours are shown on websites or landing pages before a user signs-up. This is best for product-led growth and conversion-focused campaigns.
Sales-led tours
In this tour, a sales rep takes you through the product. These can also be custom tours based on user roles, and show relevant features for their specific needs. This is useful when you have products with multiple user types (e.g., admin vs. contributor). This can happen before or after users sign up.
Common components of product tours
Now you know about the different types of product tours but these product tours are made of different UI components that guide and educate the users. Here’s a breakdown of the components you may see in a product tour:
-
Tooltips are small popups that appear when users hover over or click on UI elements, providing explanations or helpful hints.
Modals
Modals are overlay windows that interrupt the main interface to deliver important messages, gather user input, or guide users through a specific action.
Hotspots
Hotspots are pulsing icons or dots placed on the interface that draw attention to specific features, encouraging users to engage with them.
Checklists
Checklists are interactive task lists that users can follow and check off as they complete steps, commonly used for guided onboarding or tutorials.

Slideouts
Slideouts are side panels that slide into view with contextual tips, information, or tutorials without covering the main interface entirely.

Banners
Banners are full-width messages displayed at the top or bottom of the screen, used to announce updates, alerts, or promotions.

Spotlights
Spotlights are UI techniques that dim the rest of the screen to focus the user's attention on a single highlighted element.
Best practices to make product tours stick
Once you’ve nailed the structure and purpose of your product tour, these best practices can help boost activation and long-term engagement:
-
A one-size-fits-all tour can feel irrelevant fast. Segment users based on their role or intent to show them what matters most. For example, a marketer might care about campaign analytics, while a developer might be looking for integration options. By tailoring flows to user needs, you reduce overwhelm and help users find value faster.
Use triggers to stay relevant
Leverage behavioral triggers to show the right content at the right time. For instance, if a user hasn’t explored a key feature within a certain timeframe, surface a tooltip or modal that nudges them in the right direction. Even email-based onboarding flows can adapt—add interactive elements like buttons, checklists, or micro-surveys to keep the experience engaging and frictionless.
The more relevant and timely your tour, the more likely users are to adopt key features—and stick with your product.
How to create a product tour in 5 steps
Creating a product tour might seem daunting, but breaking it down into simple steps makes the process more manageable. Here's a quick walkthrough:
Step 1: Define the goal of the tour
Start by asking yourself—what do you want users to achieve by the end of the tour? Are you onboarding new users, highlighting a recently launched feature, or nudging users toward a specific action? Clearly defining the goal helps shape every other decision. At this stage, also identify who the tour is for—different user segments may need different experiences.
Step 2: Map out the flow
Once the goal is clear, outline the key actions you want users to take. Think of it as building a path—from simple to more advanced steps—that guides users without overwhelming them. Make sure each step ties back to the user’s objective and feels like a natural progression.
Now decide how you want to guide the user. This is where you choose your components—tooltips, modals, checklists, slideouts, etc.—based on what suits your product and the user's journey best. The format should support clarity, not distract from it.
Step 4: Design the tour
With the structure in place, it’s time to bring the tour to life. This includes placing UI elements at the right touchpoints, writing clear and concise copy, and ensuring everything feels intuitive. You can use a no-code onboarding tool to make this step faster and more efficient (we’ve listed a few below).
Step 5: Test and reiterate
Don’t stop after launch. Test the tour with real users to see how it performs—where they drop off, what they skip, and what they find useful. Use these insights to refine and improve the experience. A good tour evolves with your product and your users.
Creating a compelling product tour doesn’t have to mean months of dev time. Today’s no-code and low-code tools make it easy for teams to launch and iterate quickly.
9 tools you should use are:
| Tool |
Free Trial Available |
Starting Price (Paid Plan) |
| Appcues |
✅ |
$300/month |
| Pendo |
✅ |
Custom pricing |
| Userpilot |
✅ |
$249/month |
| Usetiful |
✅ |
€29/month (~$31) |
| Whatfix |
✅ |
Custom pricing |
| WalkMe |
❌ |
Custom pricing |
| Storylane |
✅ |
$40/month |
| Supademo |
✅ |
$27/month |
| Chameleon |
✅ |
$279/month |
Each tool has its strengths, so your choice depends on team size, technical resources, and the complexity of your onboarding goals.
To ensure tours lead to measurable activation, pair them with adoption analytics. A capable product adoption tool should connect onboarding events to in-app interventions, allow non-technical teams to tag key events, and report adoption by segment and lifecycle stage. For a data-driven shortlist, see this 2026 comparison of the 14 best platforms.
Common challenges with product tours
Here are some common pitfalls that marketers often face and best practices on how you can navigate these challenges to get the most out of your product tours:
- Showing all features at once overwhelms users and leads to information overload.
- Generic tours feel irrelevant and fail to address users' specific needs.
- Outdated product tours miss the chance to highlight new or improved features.
- Users drop off when tours don’t deliver immediate, clear value.
- Some tours underperform because they aren’t optimized for different screen sizes.
Takeaways
When done right, product tours provide your users with more than a warm welcome; they help users connect with your product and form the foundation for long-term engagement. Product tours are key to helping users understand not just how your product works but why it matters to them.
If you’re mindful of the pitfalls that we’ve discussed and follow the best practices, your product tours can truly capture the attention and loyalty of the users and boost retention. Remember, the best product tours don’t just teach your users; they help activate them.