Make has made it easier to connect various apps and build an automated workflow. And we have also put all our efforts into making it easier to connect Make with Mailmodo, so you can add automated triggered AMP emails for your business and see the conversions rolling.
- Platform

- Resources
Learn Marketing

Guides

Email Templates

Email Flows

Ebooks & Reports

Marketing Videos

Newsletter
See More Resources ->
Free Tools
Email Marketing 101 FREE
Read Now ->
How to Send AMP Emails From Make Using Mailmodo
BySuryanarayan Pal
Updated:
5 mins read
Updated:
5 mins read
Benefits of Make integration with Mailmodo
Here are some benefits of integrating your Make account with Mailmodo to send AMP emails:
Integrations like Make combined with AMP emails have allowed Razorpay and Murdex to increase conversions by 257% and 280%.
We have kept a low number of steps from our end so that you can set up your workflow within minutes.
We have also designed beautiful templates for you to use and set up your triggered email campaign quickly.
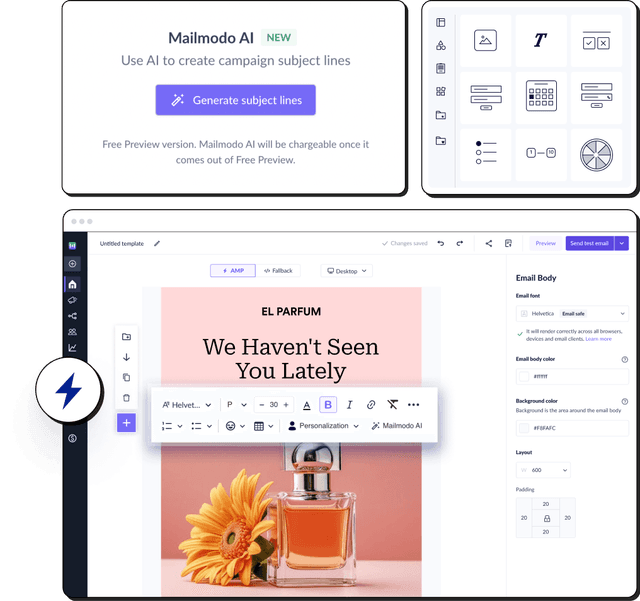
But designing your own templates is also easy with our drag-and-drop builder that doesn’t require a programmer.
It’s a no-brainer to use Mailmodo when such amazing benefits are available. And to make things even easier, we tried to keep the setup process simple, and here’s the step-by-step breakdown.
How to send AMP emails from Make using Mailmodo
We can integrate Make with Mailmodo for the following use cases:
Export Submissions to other apps – Refer to this guide.
Trigger transactional campaign.
Add contacts to a list (in Mailmodo)
In this article, we will see how to trigger campaigns in Mailmodo via Make.
And here, we will use Google Sheets as the trigger app. Whenever a row is added to a Google sheet, an email will be sent to the corresponding contact. Let’s see the exact steps involved.
- Go to templates from the vertical menu on the left side. Click on ‘Create new template.’

- Either select a blank or a pre-made template.

- Use the editor to edit the template. Save and rename the template upon completion. After saving, click on the back arrow.

You will be redirected to the template library. The saved template should be visible here.

- Go to Transactional from the vertical menu on the left. Click on New Transactional Campaign.

- Select the template you saved before. Click on Next.

- Add a Subject line, Pre header Text, From Name, and Reply to Email. Select sender email. Click on Next.

- You will be redirected to trigger on events. Select Make from the list of platforms. Click on Next.

- Review and test your campaign. To test, click on send test campaign > enter email ID > send test email.
Once tested and reviewed, click on enable campaign.

- You would be able to see the Show API Key button. Click on Show API. Copy the key. We will use this in the Make setup.

To access this key in the future, go to Transactional > Select Trigger Campaign > Trigger Info > Show API key.
The following steps show how to set up the Make:
- Visit the Make dashboard, click on Create New Scenario.

- A new scenario screen will open. Click on the + icon. Search for Google Sheets. Add Watch Rows as a trigger.

- Click on the app to configure it. Connect your Google account. Select the spreadsheet from which you want to push data. If there are headers, click on Next. Enter the maximum number of rows worked in one execution cycle.

In ‘Choose where to start,’ you can select the options based on your data set in the google sheet.
If you want to start the cycle from a particular data element, you can select it by using its ID or choosing manually from the list.

Click on the clock icon to configure the frequency of the scenario.

- Now, you need to add a module by clicking on the ‘semi-circle’ on the right side of Google sheets.

Search for ‘Mailmodo’ to add it as the module.

Select the action as Send Campaign.

- Click on the Mailmodo module to configure it. Click on Add (in connections) and paste the API key copied from Mailmodo.

- Map the Email field to the column in your spreadsheet containing Email ID.

- To add the subject, you can directly write it down, or if the subject is present in a row of the google sheet, you can add that column name in the field.

- Next, you have to select the campaign as listed in the drop-down list; also, you can add personalization parameters such as first name, last name, or contact by adding the respective column name in the field.

- Lastly, Click on Run Once to do the test run of the integration.

Now you have the integration up and ready. Every time a row is added in the google sheet, an email will be sent to the respective contact.
Wrap up
No matter where you are in your email marketing journey, AMP emails can help you increase your conversions by a lot. And Mailmodo, a complete email marketing solution, is the product you should look for if you want to explore the full potential of AMP emails.
Check out our definitive guide on AMP emails if you want to have an in-depth understanding of all things AMP. One of the best ways to know if something works is by trying it out. So sign up for Mailmodo today to take full advantage of AMP emails!
What should you do next?
You made it till the end! Here's what you can do next to grow your business:

Get smarter with email resources
Free guides, ebooks, and other resources to master email marketing.

Do interactive email marketing with Mailmodo
Send forms, carts, calendars, games and more within your emails to boost ROI.

Consult an email expert
30-min free email consultation with an expert to fix your email marketing.
You might also like
Enter with an idea.
Exit with a winning email campaign.

Brainstorm email campaign ideas with Mailmodo’s AI assistant
Build precise segments in seconds with AI segmentation
Generate ready-to-use email templates with AI
Experience true AI email marketing automation with Mailmodo
Trusted by 10000+ brands